KineMaster MOD APK 6.4.6.28925.GP (Pro Unlocked)
KineMaster Mod APK
While many programs allow you to edit video on your mobile phone, none will provide the same user experience as a desktop video editor, such as Vegas Pro, DaVinci Resolve, or Premiere Pro.
However, with applications such as Kinemaster, you can use your smartphone to perform easy modifications to films that you have made with it or even with others, utilizing either your device’s internal storage or your Google Drive account.
The only drawback is that, even though we can export the videos with its free edition if we do not pay a monthly (€5.99) or yearly (€35.99) subscription, the final video we create will contain one of those terrible watermarks.
But, hey, because kinemaster is the most excellent option available, I wanted to bring you an urgent mini-course on video editing with this app. We will move swiftly through the fundamentals of utilizing this program for video editing so you can get started immediately. Let us begin!

1. The user-friendly nature of the program’s front end
When we launch the application, this menu appears. From here, we can create a new project or launch an assistant (the magic wand), allowing us to quickly generate a film without modifying its components.
For this purpose, we offer a “next, next” interface, which allows us to add the films, titles, transitions, and effects that we desire in a step-by-step manner.
However, we will pause at this “+” button since it allows us to construct a project in a manner that is more “manual.” If we want a video with a horizontal aspect ratio of 16:9, a vertical aspect ratio of 9:16, or a square aspect ratio of 1:1 like Instagram does, we choose the ratio.
I will select 16:9, and the window will appear the same as the primary editing window in the software. If you’ve ever edited video on a computer, you’ll find that this process is quite analogous to that, although the controls have been significantly streamlined in this version.

There is a preview window, options to undo or redo previous changes, export the project, snap a screenshot of the frame currently being displayed in the preview, and a wheel serving as the menu for inserting various types of media.
Please note that we can record live on the go and add photographs or videos we have taken with our camera.
We can also add media that is stored on our mobile device, and another fantastic option is that we can link our Drive account to search for objects that are stored in our personal cloud.
When we have decided on a particular component, that component will be imported into the timeline. It must be made clear that the timeline does not function in the same way in kine master as in a PC video editor.
It is somewhat comparable to the timeline available in earlier versions of Filmora; in other words, we start with the movie or videos that we import, and then we add the parts that we wish to add later, not as tracks but as “layers.”
2. Including transitions and effects in the production
If we zoom in on the timeline between two clips, just like we would if we were zooming in on a photo, we will see that a vertical stick will appear between them to make a transition. This will allow us to transition from one clip to the next. When you press, a menu will display with options to apply transitions.

Similarly, if we click on each clip, we will get a range of quick alternatives, such as trimming the clip, applying pan and zoom effects, and adding audio effects.
We also have the option of silencing the clip, removing the background noise by the level that we mark, adjusting the volume panning (so that it is heard more or less on one side than on the other), or applying a compressor to the recording so that the sections with a lot of volumes are automatically reduced and do not saturate.
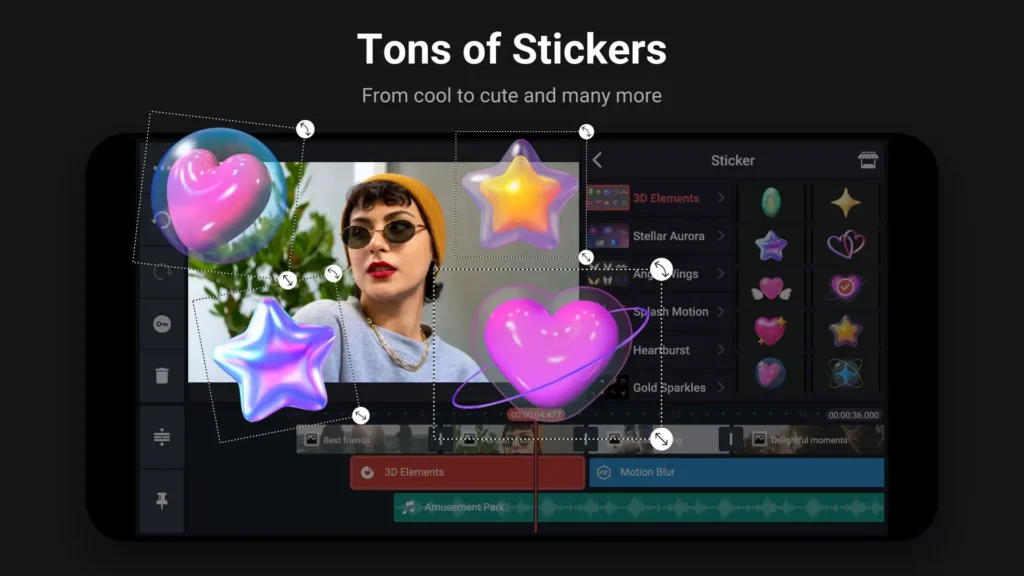
Through the layers menu, we can add a wide variety of components, such as additional video clips (in the PIP or Picture In Picture mode), effects, covers (animations), texts, or written content (scribble by hand).
It is possible to modify the length of time each of these layers takes up to make them cover more or less of an expansion of the project and one or more videos.
3. Incorporating music and sending it out
Whether they be animations, transitions, or music clips, we can insert items downloaded from kinemaster. The only notable aspect is that the vast majority need payment, despite several free alternatives.
Regarding the musical section, we can download royalty-free songs to incorporate into our projects (you will not be subject to copyright claims if you upload the video to youtube), and we will have the option to have these songs automatically downloaded imported into the timeline.

When we have reached a point where we are satisfied with the outcome of our assembly, we will then be able to export the. Download CapCut MOD APK (Premium Unlocked).
To accomplish this, we will first select the resolution, then choose the number of frames per second, and last, we will click the export button to the left of the “undo” button.
For instance, we can export at a quality of Full HD (1920 x 1080) and at a frame rate of 25 per second, which is the standard PAL setting. After the video has been exported successfully, we can post it to any chosen location.
Editing a video with a kinemaster is straightforward and user-friendly. This application is of great use to you in the event of an unexpected circumstance or when you want to make a quick edit without having to sit at a computer. You can also download the original file from Google Play.